
With it being nearly 100 degrees outside, I definitely don’t FEEL fall in the air…. but it is coming and I can’t wait! Pumpkin spice has already graced its presence in our kitchen and I am ready for that cool crisp air (especially when showing houses). It would be sad to get burnt out on pumpkin spice this early in the game, so I decided to try a wooden pumpkin project! They actually turned out pretty cute, so I figured I’d share with you how to make them.
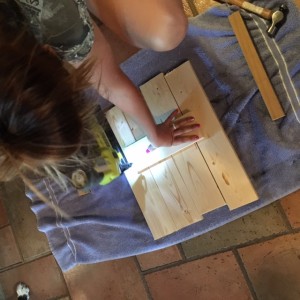
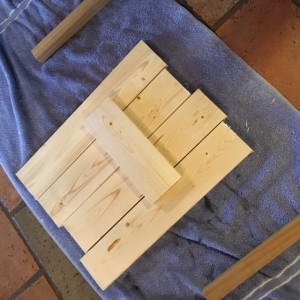
You could use reclaimed wood or pallets, but I just bought some wood at Home Depot to use. I cut the boards to a length that I wanted the sizes of my pumpkins to be along with 3 extra pieces to hold each pumpkin together. I personally made 2 big ones and a small one and was able to do so with 3 1×4 pieces of wood.

Once I had my pieces, I arranged them by size and nailed a piece of wood to the back to hold each pumpkin together. I used a nail gun because that just makes life easier :).
Once I had each group ready, I sketched the shape of a pumpkin on the front of each one. Don’t worry, they don’t have to be perfect!

Once each pumpkin was sketched, I used a jigsaw to cut out each pumpkin!

I sanded down the edges and then it was time to paint them! I personally used a white wash, but you could use any color stain or paint that you want.

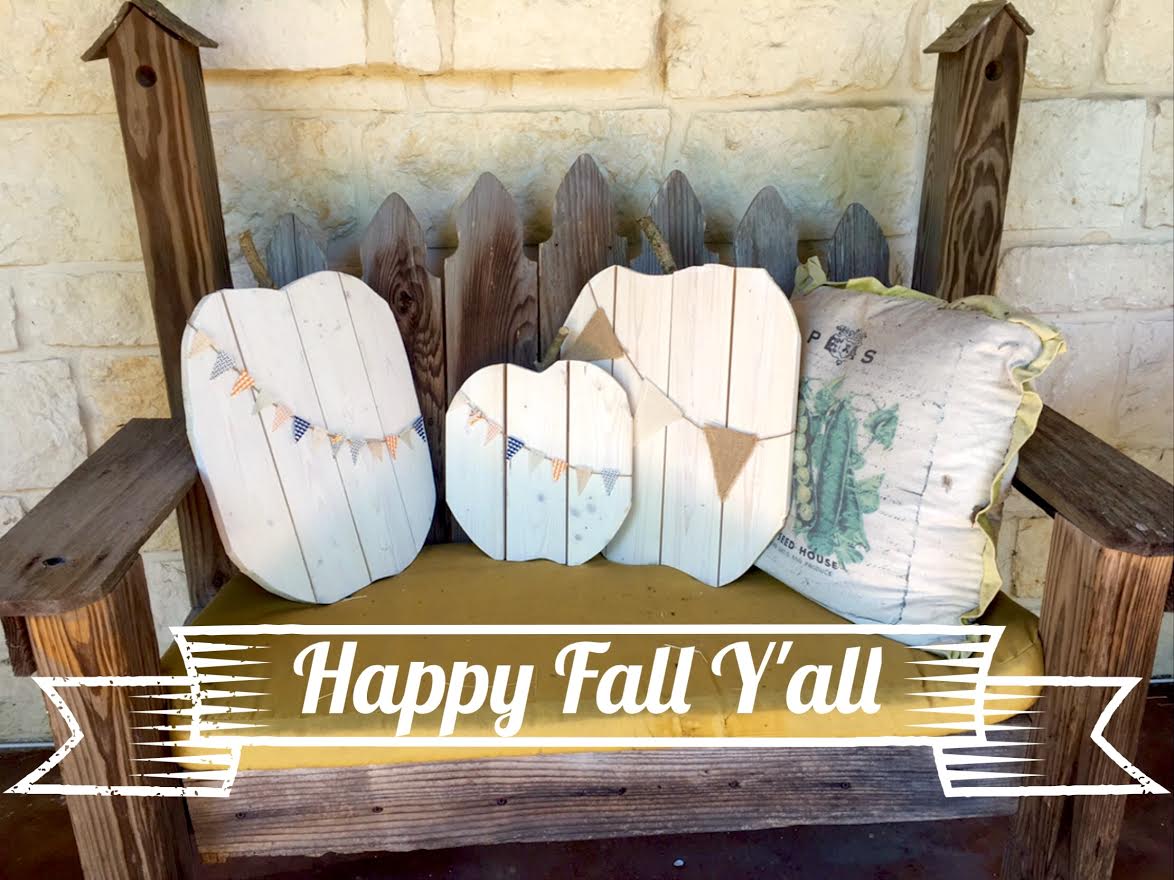
By this point in time, the only thing missing was a stem. I simply broke off tree branches in our yard and hot glued them to the back of the pumpkins

You now pretty much have a completed pumpkin! You can either write something on them with paint and stencils or even jack-o’-lantern faces. I personally made a banner with twine and flags cut out of fabric.
There you go! Now you have some cute fall decor for your porch and it really wasn’t hard to do. I may work a little more on the shapes of my pumpkins next go-round, but all in all not too shabby!